Construction Inspections in Nova Scotia: Stages, Pass Criteria, and Owner Prep
Navigating construction inspections in Nova Scotia can save you time, money, and headaches. If you're building a multi-unit rental property, inspections are mandatory at five key stages: footing, foundation, framing, pre-drywall, and final review. Each stage has strict criteria, and failing one can lead to delays and added costs.
To pass inspections smoothly:
- Prepare all required documents like permits, approved plans, and compliance certificates.
- Coordinate trades effectively to avoid miscommunication and errors.
- Conduct pre-inspections to catch issues before official reviews.
Using a design-build team simplifies the process by managing all stages under one roof, reducing delays and saving up to $47,000 in coordination costs. Proper planning ensures inspections are milestones, not obstacles, keeping your project on schedule.
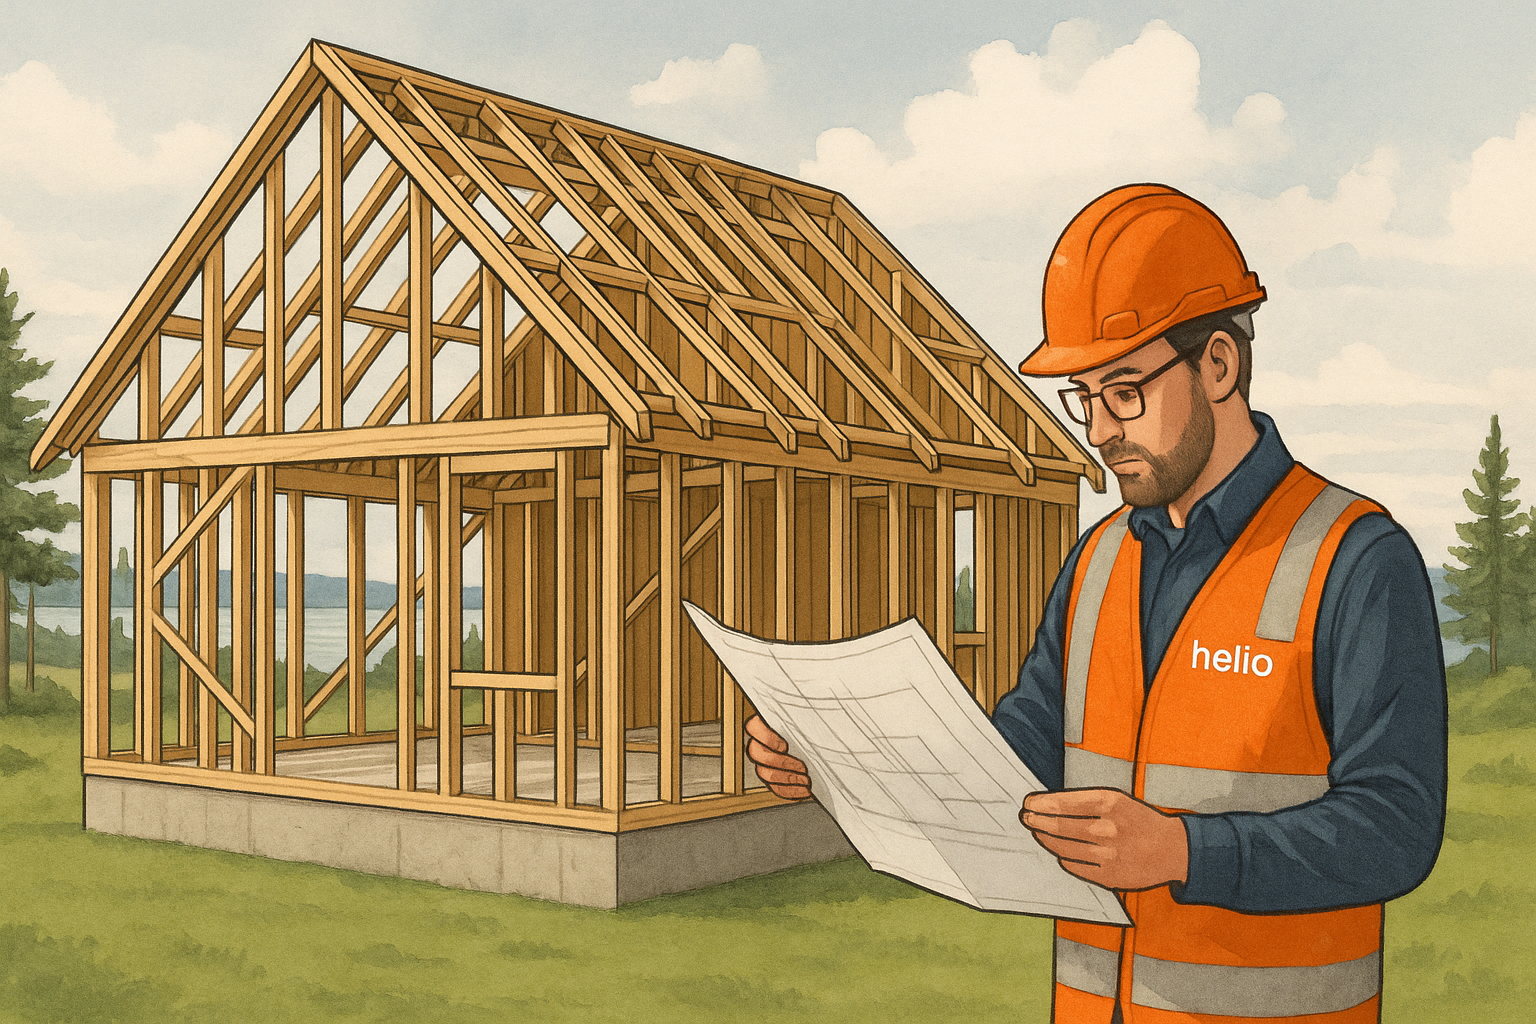
How To Conduct A Pre Drywall Inspection
Nova Scotia Building Inspection System Basics
In Nova Scotia, building inspections play a key role in ensuring that multi-unit properties meet the required code standards. Understanding the inspection process and the people involved can help property owners navigate the system with ease. This section provides an overview of the framework, with more details on roles and responsibilities to follow.
Who Conducts Inspections and Their Purpose
In Nova Scotia, municipal building officials are the primary authorities responsible for inspections. Known as the "authority having jurisdiction", they ensure that multi-unit properties comply with the applicable standards set out in the National Building Code of Canada. These standards address key areas like structural safety, fire protection, accessibility, and overall building performance.
For projects with more complex designs, property owners are required to engage qualified architects and engineers. These professionals are tasked with designing buildings that meet code requirements and overseeing construction to ensure compliance.
Building officials also work alongside specialized inspectors, such as those focusing on electrical systems, to cover all aspects of the inspection process.
5 Required Inspection Stages and Pass Requirements
In Nova Scotia, multi-unit rental properties must go through five specific inspection stages. Each stage has clear criteria that property owners need to meet to avoid delays and additional expenses. Here's a breakdown of what each stage involves.
Stage 1: Footing Inspection
This inspection happens after the site is excavated but before pouring any concrete. Inspectors check that the footings align with local frost line requirements and the structural load specifications outlined in the approved plans. Key elements include ensuring reinforcing steel is in place, footing dimensions are accurate, and the soil can support the structure. Make sure surveyor stakes are visible, debris is cleared, and approved plans are available on-site.
Stage 2: Foundation and Backfill Inspection
Once the foundation walls are constructed but before backfilling starts, this inspection ensures the foundation meets the approved specifications. Inspectors will check dimensions, height, and anchor bolt placements. They’ll also verify that the waterproofing, drainage systems, sealed utility penetrations, and window wells are properly installed.
Stage 3: Framing Inspection
This stage focuses on the property's structural framework. Inspectors assess beams, joists, load-bearing walls, and fire separation elements to ensure they match the approved plans. They’ll also confirm that joist hangers and beam supports are secure. Make sure all electrical, plumbing, and HVAC rough-ins are completed before this inspection.
Stage 4: Pre-Drywall Inspection
Before installing drywall, inspectors will check that insulation, vapour barriers, and air seals meet the required standards. They’ll also review ventilation systems and ensure that electrical and plumbing rough-ins are properly installed.
Stage 5: Final Inspections
The final stage covers a comprehensive review of the entire construction. Inspectors ensure fire safety, proper egress, and accessibility compliance, along with verifying that plumbing and electrical systems are functioning correctly. All construction work must be completed, the site cleared of debris, and required documentation should be ready for review.
Required Documents for Inspections
To comply with Nova Scotia's inspection standards, certain documents must be readily available at the construction site. Here's what you need to have on hand:
Documents Required On-Site
- Building Permit: Ensure the building permit is kept on-site throughout the construction process [1].
- Approved Plans and Specifications: These should be accessible for inspectors to review as needed [1].
- Survey or Real Property Report: For more complex projects, maintain an up-to-date plan of survey or real property report. This document should clearly outline the site and building location to confirm compliance [1].
sbb-itb-16b8a48
Common Inspection Failures and How to Prevent Them
Knowing the typical reasons inspections fail can save property owners from costly setbacks and rework. Most failures aren't due to major construction issues but rather a lack of preparation. When an inspection doesn't pass, it can lead to delays in rescheduling and extra costs for corrections and re-inspection fees.
Even if the construction is sound, poor coordination between trades can result in failure. When teams work in isolation without proper quality control, issues often go unnoticed until the official inspection.
For example, foundation and grading problems can be incredibly expensive to fix once concrete or backfill is in place. These issues often require extensive excavation and additional materials. Similarly, electrical and plumbing rough-ins can fail if they don't align with approved plans or if proper clearances aren't maintained.
Documentation errors, such as missing permits or outdated plans, can also derail an otherwise well-executed project.
Table: Inspection Failures and Prevention Methods
Here’s a breakdown of common inspection issues and how to avoid them with a proactive approach:
| Inspection Stage | Common Failure Points | Typical Causes | Prevention Methods |
|---|---|---|---|
| Footing | Incorrect depth, poor drainage, inadequate reinforcement | Lack of proper survey; rushed concrete pouring | Use survey stakes to confirm depth, ensure proper drainage slope, and inspect rebar placement before pouring concrete |
| Foundation | Improper backfill, foundation cracks, missing damp-proofing | Premature backfilling; unapproved materials | Allow concrete to cure fully, use approved backfill materials, and apply waterproofing before inspection |
| Framing | Unauthorized changes, missing fire blocking, incorrect beam sizes | Deviations from approved plans | Stick to approved plans, get engineering approval for changes, and install fire blocking as required |
| Pre-Drywall | Electrical/plumbing not matching plans, missing insulation, ventilation problems | Poor trade coordination; rushed installations | Ensure trades work together, verify installations against plans, and complete all rough-ins before inspection |
| Final | Missing permits, unfinished work, safety violations | Incomplete documentation; rushed project wrap-up | Keep all permits on-site, finish punch list items, and complete system testing before inspection |
Cold weather can also throw a wrench into the inspection process. For instance, concrete work becomes tricky when temperatures drop below 5°C, and inspectors may delay evaluations. To avoid this, plan inspections around the weather forecast.
Electrical and plumbing rough-ins are another common stumbling block. Deviations from approved plans - like misplaced outlets or unapproved fixture changes - can result in failed inspections and require costly amendments.
Fire safety is another critical area where mistakes are often made. Requirements like proper fire blocking, fire-rated assemblies, and correctly sized egress windows are strictly enforced, especially in multi-unit properties. These elements are essential for life safety and demand careful attention during the framing phase.
The best way to avoid these pitfalls is by conducting systematic pre-inspections. At each stage, verify that both the work and the documentation meet all requirements. This proactive approach can save time, money, and stress in the long run.
How Design-Build Teams Simplify Inspection Management
Managing inspections becomes increasingly complex when multiple trades are involved. Traditional methods require property owners to juggle separate architects, engineers, electricians, plumbers, and general contractors, often leading to delays and miscommunication. A design-build approach simplifies this by integrating all aspects of the project, from planning to inspections, into one cohesive process. This eliminates the inefficiencies of fragmented methods, reducing delays and minimizing cost overruns.
With design-build teams, property owners collaborate with a single entity that oversees every step of construction. This unified approach ensures smoother processes, especially during inspections, as the team handles everything from initial design to the final inspection stage.
One Team Handles All Inspection Stages
An integrated design-build team ensures every stage of the inspection process is seamlessly coordinated. The same team responsible for architectural plans also manages engineering calculations and oversees construction, eliminating the finger-pointing that often arises when issues occur during inspections. For example, if an electrical rough-in doesn’t align with approved plans during a pre-drywall inspection, the team takes full responsibility for resolving the issue.
This collaborative method also maintains consistent quality control. Engineers and architects remain actively involved during construction, allowing them to identify potential problems early and make necessary adjustments in real time. For property owners, having a single point of accountability simplifies communication and avoids the chaos of coordinating multiple contractors. This streamlined process can save significant costs - up to $47,000 in wasted expenses on multi-unit construction projects.
Additionally, having all trades on the same team ensures inspection milestones are met without unnecessary delays. By working together, the team can schedule and complete pre-inspections efficiently, reducing risks and keeping the project on track.
Pre-Inspections Catch Issues Early
Pre-inspections, conducted by engineers before official municipal reviews, are a proactive way to catch and resolve issues early. For instance, during the footing stage, the project engineer ensures excavation depths meet survey requirements and that reinforcement is correctly placed before the concrete pour. Addressing these details upfront reduces the likelihood of costly rework later.
These pre-inspections are typically timed just before municipal reviews, giving the team enough room to fix any issues without delaying the overall schedule. This is especially crucial for intricate systems like electrical or plumbing installations, where verifying clearances and safety standards in advance can prevent major setbacks.
For property owners, this approach means fewer failed inspections and a quicker path to project completion. Problems are identified and resolved before they escalate, saving both time and money.
Organized Documentation and Scheduling
Centralized documentation systems further simplify inspection management. By maintaining a single, comprehensive project file - including building permits, approved plans, engineering calculations, and amendments - the team ensures that inspectors have immediate access to all necessary documents. This reduces delays and confusion during reviews.
Advanced scheduling tools also play a key role. These systems align inspection timelines with construction milestones and adjust for unforeseen factors like weather delays. For example, during colder months, extra time is automatically factored in to allow for proper curing. Property owners receive regular updates, keeping them informed of progress every step of the way.
Detailed records of inspections, including any conditions noted by inspectors, are meticulously maintained. This ensures follow-up work is completed promptly, keeping the project moving smoothly and avoiding unnecessary setbacks.
Conclusion: Preparing for Smooth Inspections
Thorough preparation is the backbone of navigating Nova Scotia's construction inspection process. By understanding the five key inspection stages - from footing to the final review - property owners can sidestep costly delays and ensure their multi-unit projects meet all regulatory standards.
The secret to smooth inspections? Be prepared and stay organized. Keep all essential documents - permits, plans, calculations, and any amendments - neatly arranged and accessible on-site for inspectors. Open communication with inspectors is equally important to address any issues promptly and avoid unnecessary setbacks.
Interestingly, most inspection failures aren’t caused by construction flaws but by poor preparation. Incomplete work or missing documentation often stalls inspections, dragging out timelines. A systematic approach to preparation can prevent these hiccups, keeping your project on track.
Relying on multiple independent contractors - architects, engineers, electricians, plumbers, and general contractors - can complicate inspections. When problems arise, trades often shift blame, leading to delays and added expenses. On average, property owners can save around $47,000 in coordination costs by opting for integrated teams that manage all inspection stages under one roof.
As discussed earlier, working with a design-build team simplifies the process by centralizing accountability. This proactive method ensures issues are resolved efficiently, preventing delays and keeping the project on schedule.
For multi-unit property owners, proper preparation transforms inspections into manageable milestones rather than obstacles. With the right approach, inspections become part of a smooth workflow, helping you hit your target completion date and start collecting rent on time.
FAQs
What happens if a property owner doesn’t pass a required inspection during the construction process in Nova Scotia?
Failing a required inspection during construction can lead to a formal order to fix the identified issues under the Nova Scotia Building Code Act. This not only delays your project but can also drive up costs, as any corrections must be completed and re-inspected before you can proceed with the next phase.
To keep your project on track, it’s crucial to plan carefully, ensure all work meets code standards, and tackle potential problems early. Working with an experienced design-build team can make the process smoother and help minimise the chances of inspection setbacks.
How can a design-build team help prevent delays and extra costs during construction inspections?
When you work with a design-build team, the construction inspection process becomes much more straightforward. Why? Because they act as a single point of accountability, cutting out the hassle of juggling multiple contractors. This reduces the chances of miscommunication and helps avoid unnecessary delays.
By combining design and construction from the outset, the team ensures that inspection requirements are factored in early. This proactive approach helps prevent expensive change orders down the line. The result? A smoother process that not only saves time but also helps keep the project within budget - offering property owners peace of mind during every stage of the inspection.
What documents should property owners have on-site to ensure a smooth construction inspection process in Nova Scotia?
To keep your inspections running smoothly, make sure your approved building plans and building permit are easily accessible on-site. These documents are essential for inspectors to confirm that your project complies with the Nova Scotia Building Code Regulations and matches the approved designs.
Being organized and having these documents ready not only shows you're prepared but also helps simplify the inspection process, cutting down on unnecessary delays or issues.